An Artsy Fartsy Project: The Old White T-Shirt
It’s been a while since I’ve personalized old shirts of mine. Given clothes get a bit too expensive these days, checking out old clothes in your wardrobe and giving them a fresh new look can definitely save you a lot of money which is exactly what I did just yesterday. For this D.I.Y. project, I tried out the trick of tie-dying old shirts of mine.
So, you’ll need the following:
- Old white shirts
- Scissors
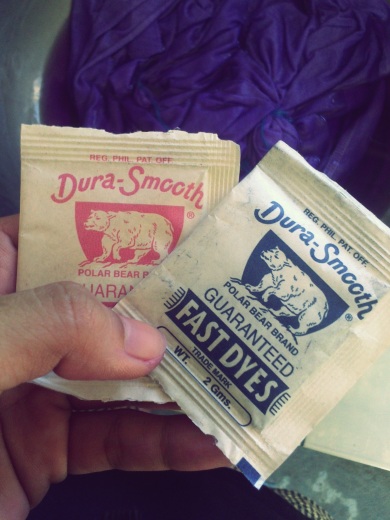
- Dyes
- Basin
- Thick yarn or nylon ties
- Hot Water
- Clothes Iron
First off, decide if you want to customize your old shirt by making it into a muscle tee or tank top. I, on the other hand, opted for the tank top look. Check out the video below by YouTube user, LeSassafras, on how to turn old shirts into tank tops.
Next, in a basin, dissolve your colour dye of choice in a basin filled with just the right amount of hot water for one shirt. In my case, I had three shirts and three colour dyes namely blue, purple and pink.
 Before placing in the shirts into the basin, tie parts of your shirt with the use of thick yarn or nylon ties. Given it was my first try on tie-dying, I just knotted one area to the next. Check out the video below by YouTube user, akaydoll, on how to tie-dye shirts to create different patterns.
Next step is to dip the shirts into the solution making sure all parts of the shirt are soaked. Leave it for at least 20 minutes.
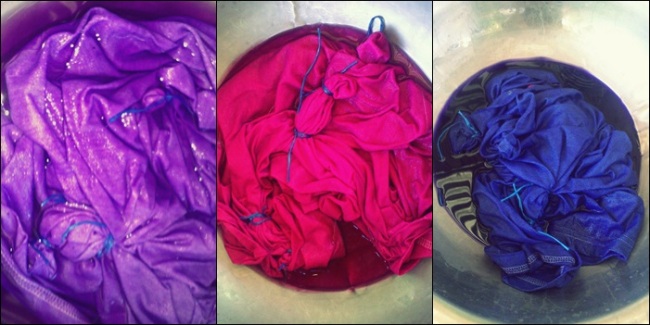 Wash the shirt and hang it to dry in an area not exposed to the sun. *Note: sunlight can cause dyed colours to fade easily.
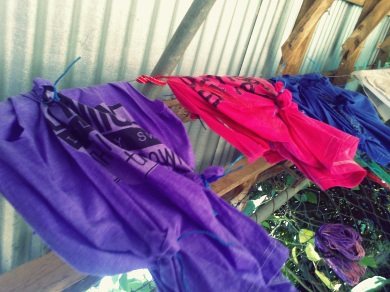 Once the shirt is damp, iron them to make the dye dry faster on the shirt.Hang them up once more to dry. As easy as that, you’ve got new colourful shirts for your wardrobe.
 Here’s an old photo of me with my white shirt besides a latest pic of me wearing my customized shirt.
 Who knew tie-dying would be so much fun? Ah, but note to self, wear a pair of gloves next time.
24 Dates To Take Yourself On
29 Dates To Go On With Your Best Friend
10 Of The Most Unhealthy Relationship Practices
The Soulmate You Deserve
The One Who Changes You
15 Things Social Media Has Taught Me About People
15 Signs You’re Growing Up
hahahaha. god i am old.
D.I.Y. Instax Album
Ever since my boyfriend gave me the Instax mini 7 last Christmas, I’ve been trigger happy taking photos here and there. Instant cameras are love. Given the photos are too cute to be placed in a box hidden away, i spent my day off (Anzac day in Australia meaning no work hihi) creating an album for my Instax photos.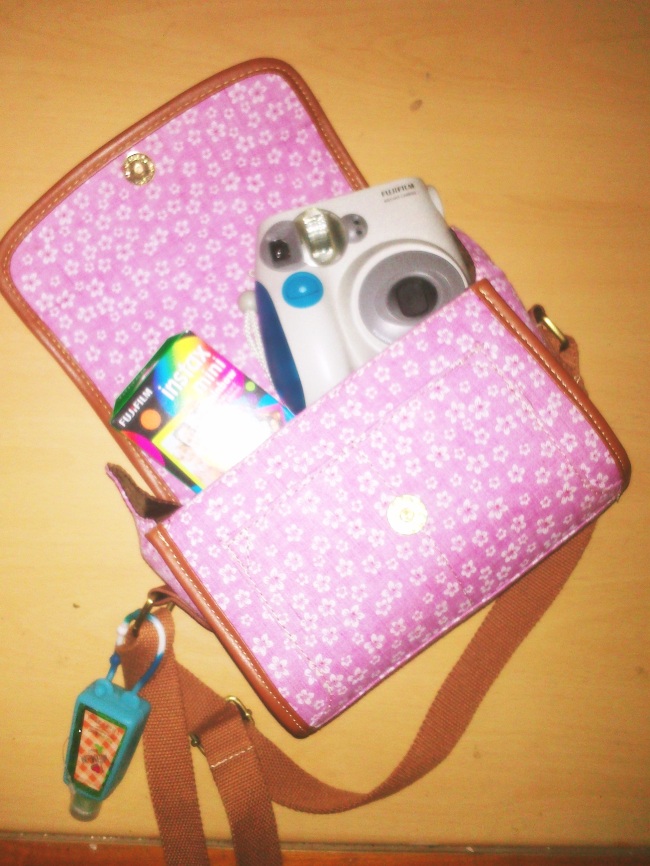
I know a loooot of friends who have got an instax mini as well so i do hope this d.i.y. Post would inspire you to make your own albums.
First off, you’d be needing the following materials:
Paper (i used my papemelroti stock for this project)
Illustration board
Ruler
Glue
Paper end screws (i have no idea what they’re actually called haha)
Puncher
Pencil
Instax photos
The size of your album would of course depend on your instax photo sizes.
Measure the board for the cover and backing for your album. Do the same for the inside pages. Remember to leave space for the paper fold and area around the photo. Cut the excess parts.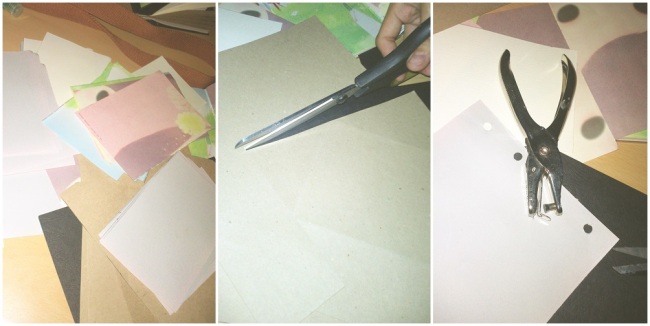
Punch holes through the cover and pages. Before binding, design your cover, here i utilized pages from old notebooks, black paper scraps and an old gift wrapper.
As for the pages, take two instax photos and line them up side by side with a space in between. Mark the sides of the photos. 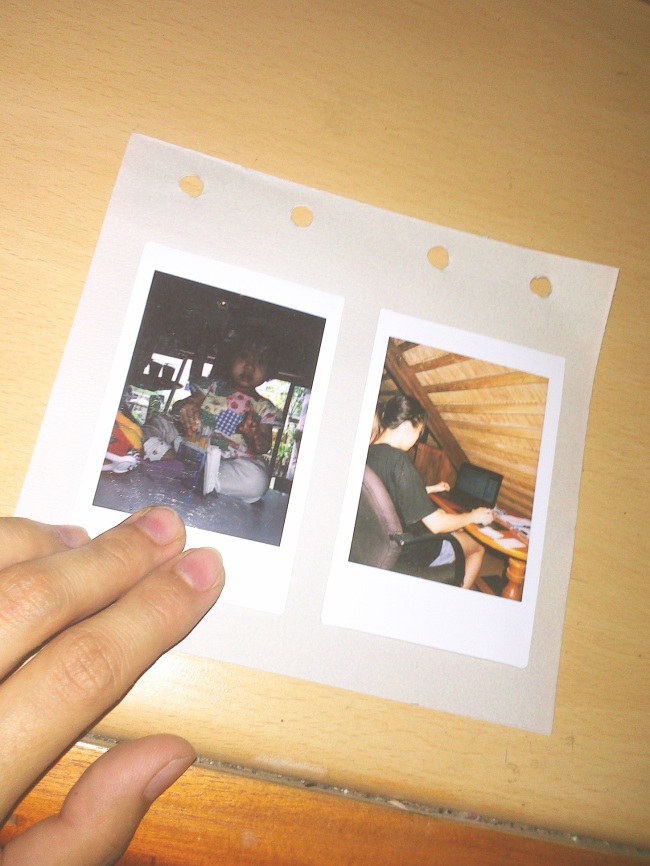
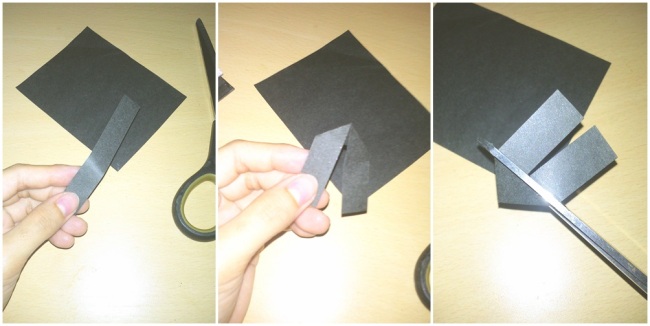
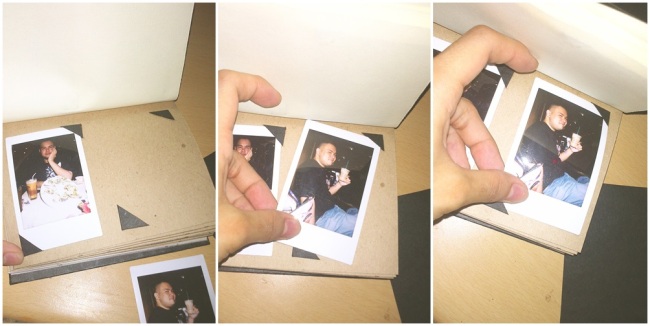
Taking cue from vintage albums, use paper corners in keeping the photos in place. Create these paper corners simply by folding a strip of paper into a triangle, cut excess and paste on marked areas on the paper. Wait to dry.
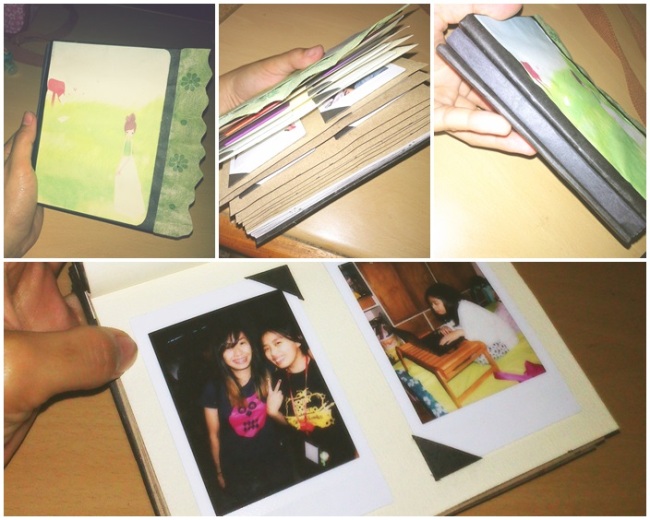
Next is stack pages and cover then bind using the paper screws. 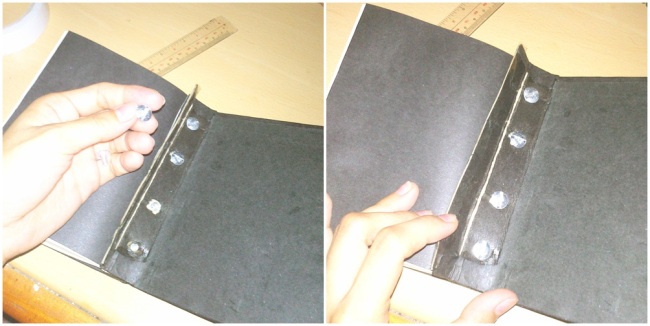
Place in the photos and there you have it, your own instax album. 🙂
